
Pumpkins aren’t just for carving and cooking; they’re also a valuable source of seeds that you can save for next year’s planting. By saving pumpkin seeds, you can grow your own pumpkins, preserve heirloom varieties, and ensure your garden is thriving with your favorite pumpkins each year. This guide will show you how to save pumpkin seeds for planting, ensuring the best results for your next harvest.
Why Save Pumpkin Seeds?
Saving seeds from your own pumpkins allows you to maintain control over the quality and variety of plants in your garden. Plus, it’s a sustainable and cost-effective way to keep your garden growing year after year. Here are a few reasons to save your pumpkin seeds:
- Preserve Heirloom Varieties: Many store-bought pumpkins are hybrids, which means they may not grow true to type. By saving seeds from heirloom pumpkins, you can ensure the same variety continues.
- Reduce Costs: Buying new seeds every year can add up. Saving seeds from your harvest cuts costs.
- Sustainability: Seed saving is a natural and eco-friendly practice that promotes biodiversity in your garden.
Step-by-Step Guide to Saving Pumpkin Seeds
Step 1: Choose the Right Pumpkin
The first step in saving seeds is selecting a healthy, mature pumpkin. It’s essential to choose pumpkins that are free of diseases and have been fully ripened. Look for these characteristics:
- Fully matured pumpkins: Ensure the pumpkin has reached its full size and color. Mature pumpkins will produce viable seeds.
- Healthy appearance: Avoid pumpkins that show signs of disease, mold, or soft spots. Opt for those with a hard, intact shell.
- Heirloom varieties: If you’re saving seeds to grow pumpkins that are true to the original, make sure you’re starting with an heirloom pumpkin. Hybrid pumpkins may not produce the same results.
Step 2: Harvest the Seeds
Once you’ve selected your pumpkin, it’s time to remove the seeds.
- Cut the pumpkin open: Using a sharp knife, carefully cut open the top or bottom of the pumpkin. Make sure your cut is wide enough to access the seeds.
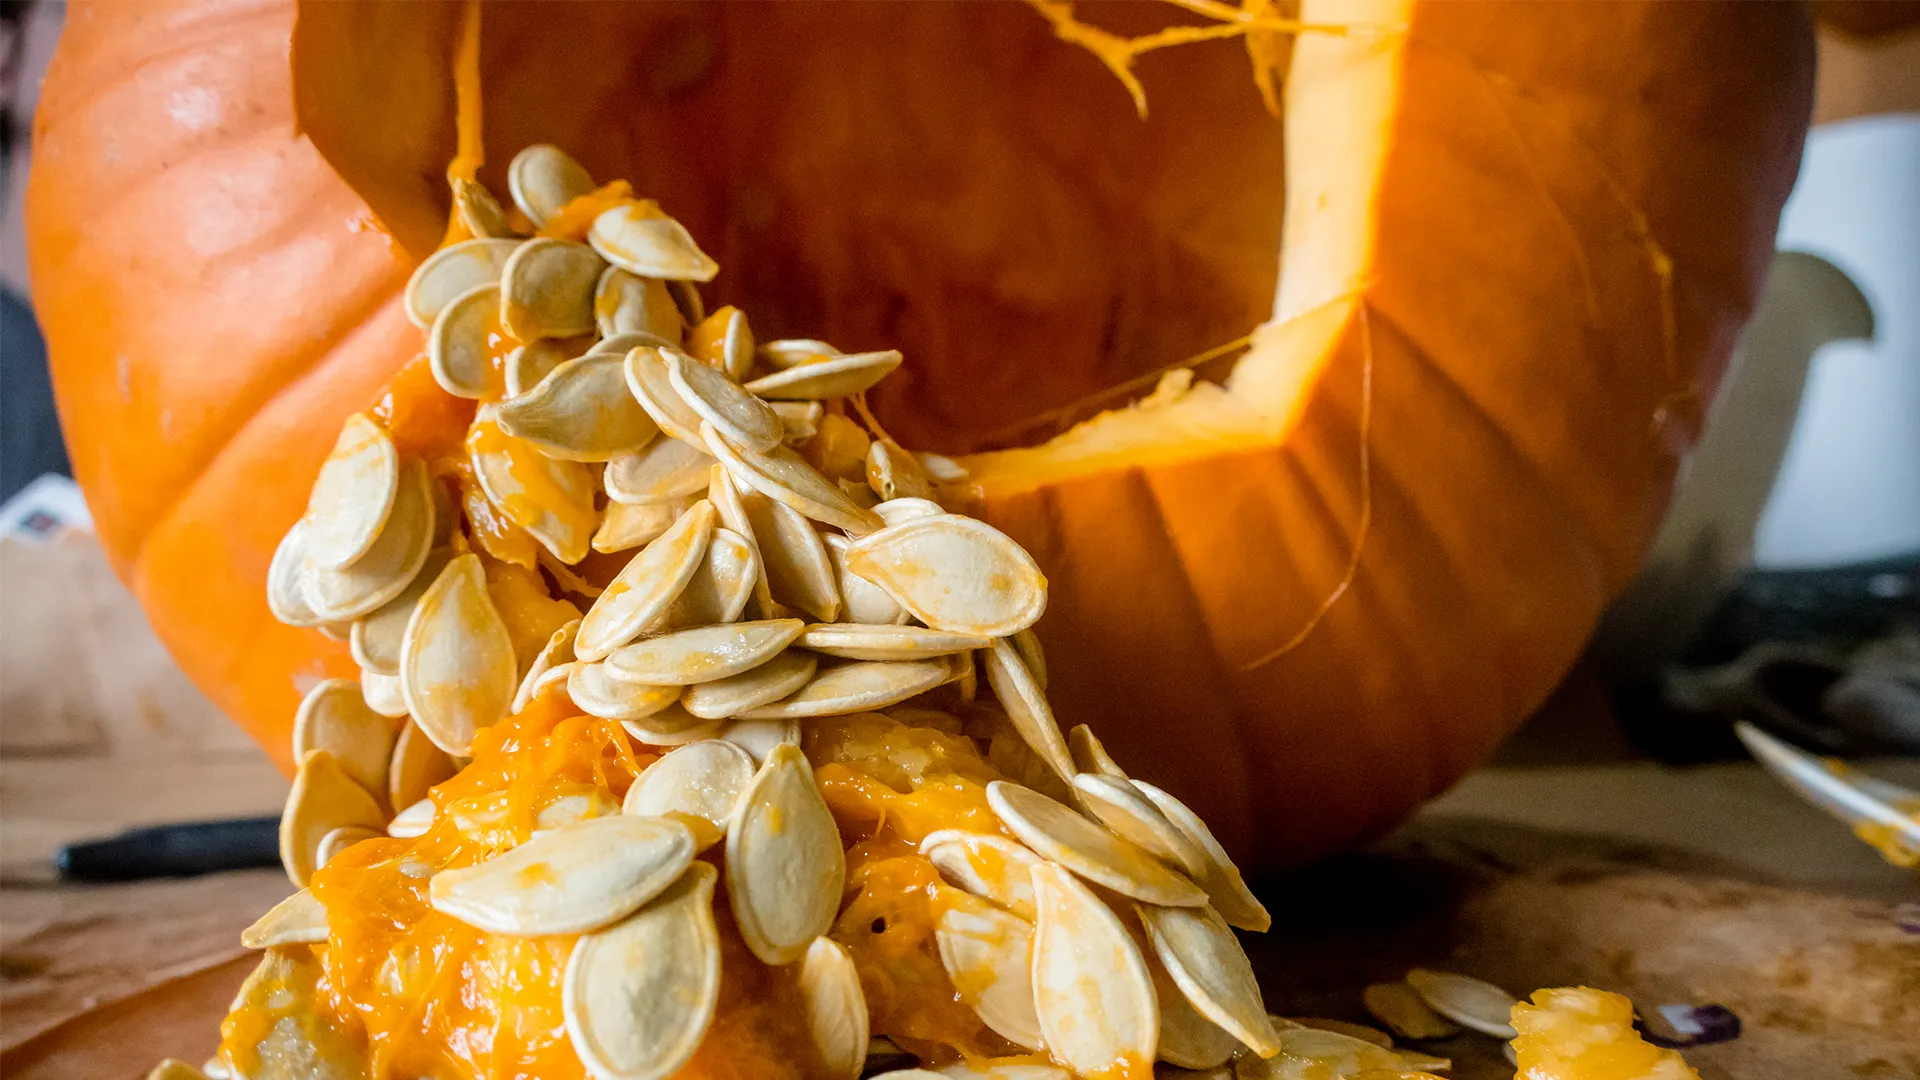
- Scoop out the seeds: Use a large spoon to scoop out the seeds and pulp from inside the pumpkin. Separate the seeds from the fibrous pumpkin pulp as much as possible.
- Rinse the seeds: Place the seeds in a colander and rinse them under cool running water. As you rinse, remove any remaining pulp from the seeds. This step helps prevent mold during the drying process.
Step 3: Sort the Seeds
Not all pumpkin seeds are viable for planting, so you’ll need to sort through them. Select the largest, plumpest seeds, as they have a higher chance of germinating. Smaller, misshapen, or damaged seeds should be discarded, as they may not produce healthy plants.
Step 4: Dry the Seeds
Drying your pumpkin seeds properly is crucial to ensuring they remain viable for planting.
- Spread the seeds: Lay the rinsed seeds in a single layer on a clean paper towel or dish towel. Make sure they are spaced out and not touching each other.
- Let them dry: Place the seeds in a cool, dry area, away from direct sunlight. Allow them to air-dry for at least one to two weeks. Be sure to stir the seeds every few days to promote even drying.
- Test for dryness: Once the seeds feel dry and hard to the touch, they’re ready for storage. If they’re still soft or bend easily, let them dry for a few more days.
Step 5: Store the Seeds
Proper storage is key to keeping your seeds viable until planting season.
- Use an airtight container: Place the dried seeds in an airtight container such as a glass jar, ziplock bag, or envelope.
- Label the container: Make sure to label your container with the pumpkin variety and the date the seeds were saved. This helps you remember when they were harvested and what type of pumpkin they’ll produce.
- Store in a cool, dry place: Store your seeds in a cool, dark place, such as a pantry or refrigerator. Seeds can last up to five years if stored properly, but their germination rates will decrease over time.
Tips for Successful Seed Saving
- Avoid cross-pollination: If you’re growing multiple varieties of pumpkins, be aware that cross-pollination can occur, resulting in hybrid seeds that may not grow true to the parent plant. To avoid this, grow only one pumpkin variety or use physical barriers to prevent cross-pollination.
- Check for viability: Before planting, you can test seed viability by placing a few seeds between moist paper towels. Keep them warm and check after a week to see if they’ve sprouted.
- Ensure proper drying: Seeds that are not fully dried before storage may rot or become moldy. Take the time to let them dry completely.
Conclusion
Saving pumpkin seeds for planting is a rewarding process that can help you preserve your favorite pumpkin varieties, save money, and contribute to a more sustainable gardening practice. By following these simple steps—choosing the right pumpkin, harvesting and drying the seeds, and storing them correctly—you’ll be well on your way to a successful harvest next season.
Now that you know how to save your pumpkin seeds, you can enjoy the fruits (or seeds) of your labor year after year. Happy gardening!