Introduction
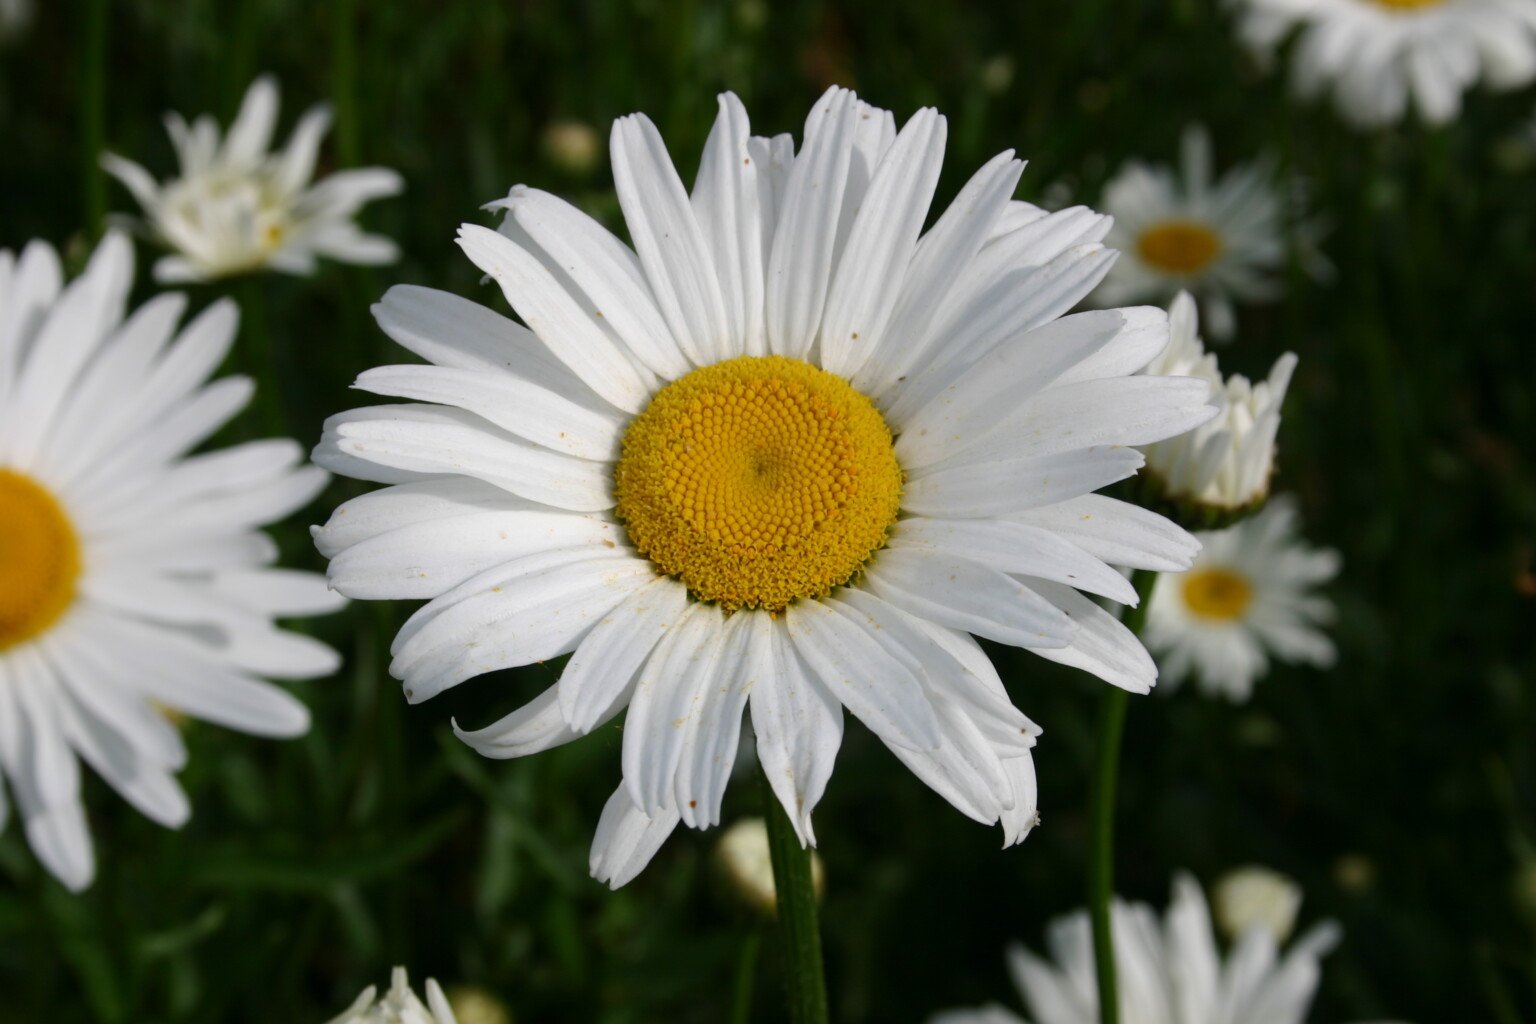
Shasta daisies, with their beautiful white and bright yellow centers, are a popular choice for garden enthusiasts. These perennial flowers are easy to care for and can add a touch of elegance to any landscape. Whether you’re a beginner or an experienced gard, this article will provide you with step-by instructions on how to successfully grow Shasta daisies.
1. Choosing the Right Soil for Shasta Daisy
Before planting Shasta daisies, it is crucial to select the right soil for optimum growth. These flowers thrive in well-draining soil that is rich in organic matter. Ensure the soil is slightly acidic to neutral, with a pH range of 6.0 to 7.0. If your soil is heavy or clay-like, consider adding compost or sand to improve drainage.
2. Watering Guidelines for Shasta Daisy
Proper watering is essential for the health and vitality of Shasta daisies. Once planted, it is important to keep the soil consistently moist, especially during hot and dry periods. However, avoid overwatering as it can lead to root rot. Regularly check the soil moisture and water deeply when necessary, allowing the top inch of soil to dry out between waterings.
3. Growing Shasta Daisy from Seeds
If you prefer starting from seeds, follow these steps to successfully grow Shasta daisies. Sow the seeds indoors 6-8 weeks before the last frost date or directly in the garden after the danger of frost has passed. Lightly cover the seeds with soil, as they require light to germinate. Keep the soil moist and provide sufficient sunlight until the seedlings are ready to transplant.
4. Meeting the Sunlight Requirements of Shasta Daisy
Shasta daisies thrive in full sun but can tolerate partial shade. To ensure optimum growth and abundant blooms, provide them with at least 6 hours of direct sunlight each day. Insufficient sunlight may result in leggy plants with fewer flowers.
5. Dealing with Common Pests of Shasta Daisy
Although relatively pest-resistant, Shasta daisies may occasionally face some pests, such as aphids and slugs. To control aphids, rinse them off with a strong stream of water or use insecticidal soap. For slugs, create barriers around your plants using pine needles, crushed eggshells, or diatomaceous earth.
6. Pruning Techniques for Shasta Daisy
Pruning Shasta daisies is essential for maintaining their shape and encouraging more blooms. After the first wave of blooming has finished, cut the spent flowers back to encourage a second round of flowering. In late fall, prune the plant to about 2 inches from the base to prepare it for winter dormancy.
7. Fertilizing Tips for Shasta Daisy
To keep your Shasta daisies healthy and vigorous, fertilize them once every spring. Use a balanced slow-release granular fertilizer, following the package instructions for application rates. Avoid over-fertilizing, as this can lead to excessive foliage growth at the expense of flowers.
8. Companion Plants for Shasta Daisy
Shasta daisies are versatile and can be paired with a variety of other plants to create stunning garden displays. Some suitable companion plants include lavender, salvia, coreopsis, black-eyed Susans, and ornamental grasses. Consider the height, color, and blooming period of the companion plants to achieve an aesthetically pleasing combination.
9. Exploring Different Varieties of Shasta Daisy
There are several exciting varieties of Shasta daisies to choose from, each with unique characteristics. Some popular varieties include ‘Becky’, known for its large blooms, ‘Alaska’, which has pure white flowers, and ‘Crazy Daisy’, with double flowers. Explore different varieties to add diversity and interest to your garden.
10. Step-by-Step Planting Instructions for Shasta Daisy
For successful planting, follow these step-by-step instructions. Choose a location with full sun or partial shade. Dig a hole twice as wide and deep as the plant’s container. Place the Shasta daisy in the hole, ensuring that the crown is level with the soil surface. Backfill the hole, gently firming the soil around the plant. Water thoroughly after planting.
11. Preventing Diseases in Shasta Daisy
Shasta daisies are generally resistant to diseases but can occasionally be affected by powdery mildew. To prevent this fungal disease, provide good air circulation by spacing plants adequately. Avoid overhead watering and apply a preventive fungicide if necessary. Remove and destroy any infected foliage to prevent the spread of the disease.
12. Harvesting Methods for Shasta Daisy
Shasta daisies make excellent cut flowers and can be harvested at their peak bloom. Cut the stems early in the morning when the flowers are fully open but not yet wilted. Use sharp, clean shears and place the stems immediately in a bucket of water to preserve their freshness. Display them in a vase or use them for floral arrangements.
13. Additional Tips and Care Instructions for Shasta Daisy
To ensure the success of your Shasta daisies, follow these additional tips and care instructions. Mulch around the plants to conserve moisture, suppress weeds, and regulate soil temperature. Divide overcrowded clumps every two to three years to maintain their vigor. Lastly, monitor the plants regularly for signs of pests or diseases and take appropriate action as needed.
Conclusion
Growing Shasta daisies can be a rewarding and enjoyable experience. By following these step-by-step instructions and implementing the tips provided, you’ll be able to cultivate healthy and vibrant Shasta daisy plants that will bring beauty to your garden for many years to come.

